OEM Gasket Reverse Engineering
How the Process Works
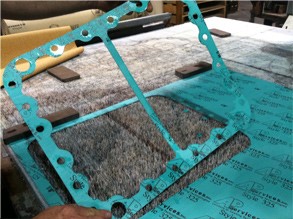
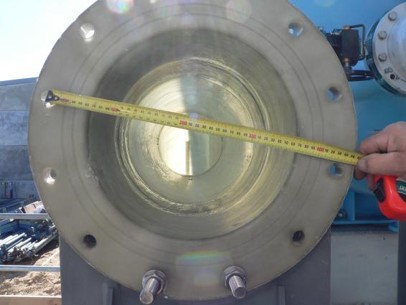
STEP 1: An OEM gasket is picked for
reverse engineering
STEP 2: Kan-Seal uses it’s state-of-the-art scanner to create an electronic replica
of the gasket.
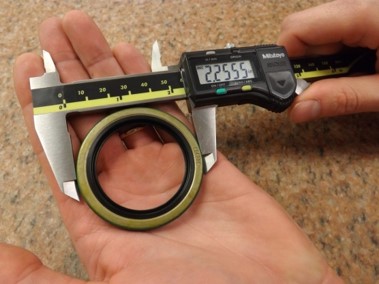
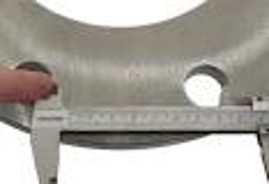
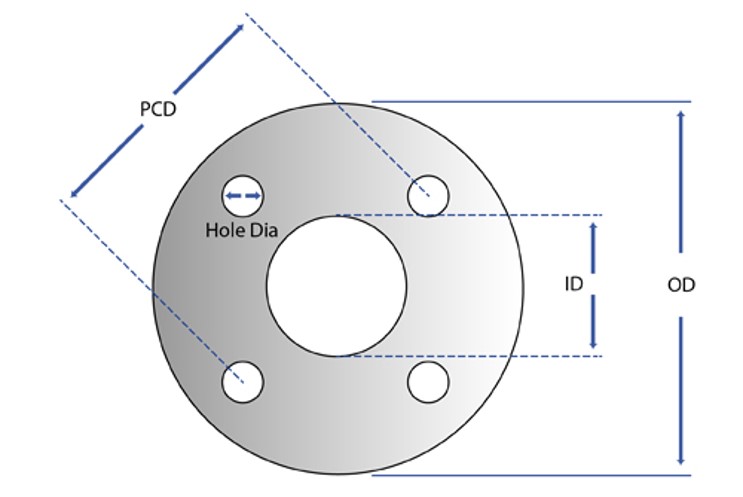
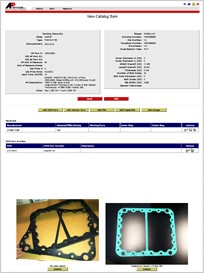
STEP 3: Dimensional information, material type, and other pertinent information such as application pressures and temperatures are uploaded into our database for future reference.
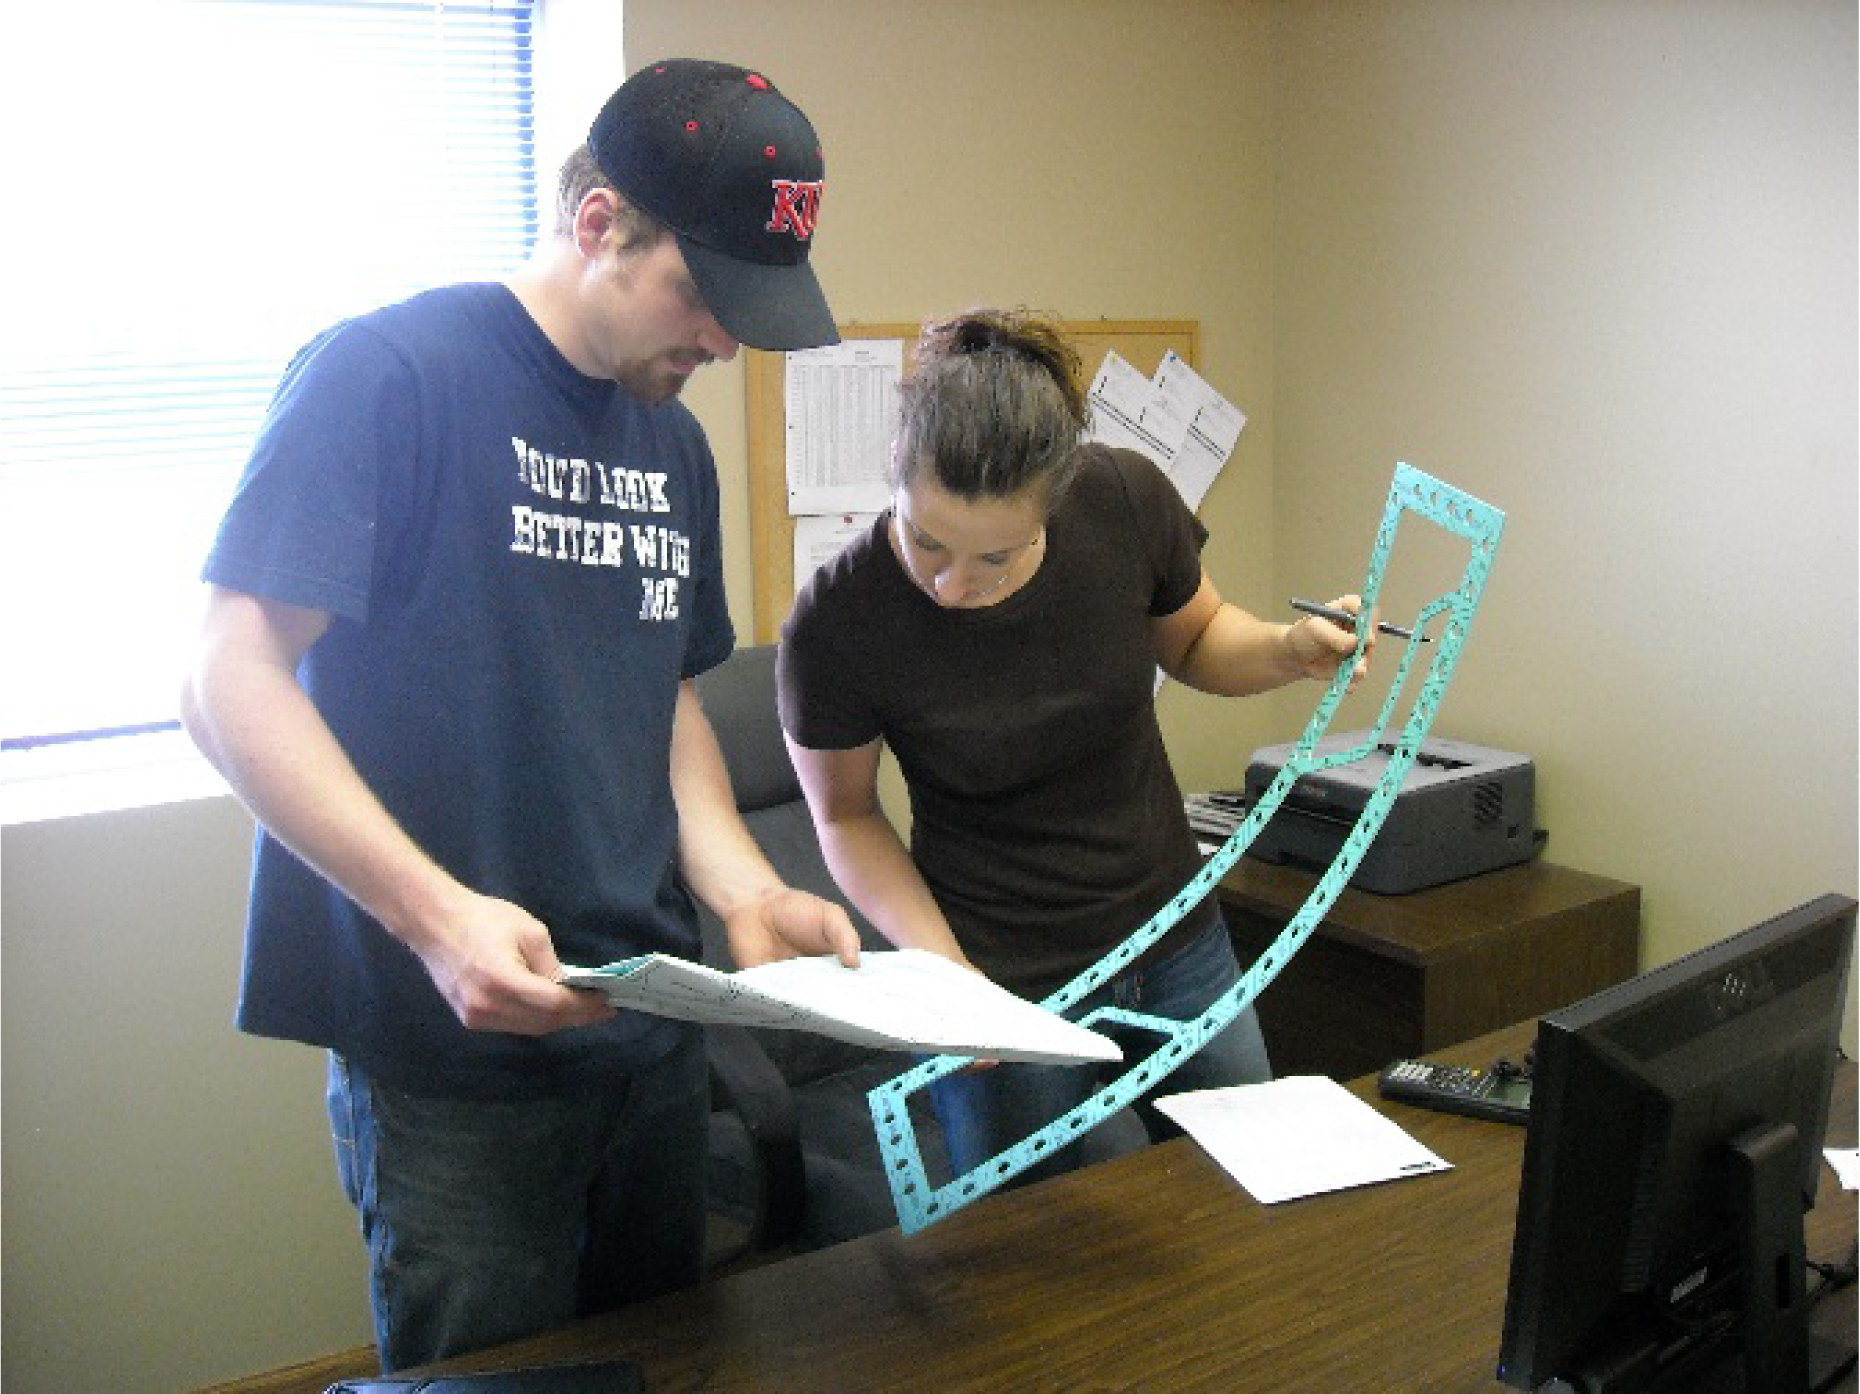
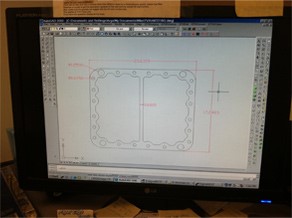
STEP 4: Using the 2D scan, a Kan-Seal technician creates a CAD Drawing to be
sent to our WaterJet cutter.
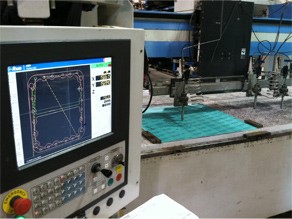
STEP 5: The CAD drawing is sent electronically for upload into the
WaterJet computer database.
STEP 6: A dimensionally identical gasket
is created.